
Insights
First Photo
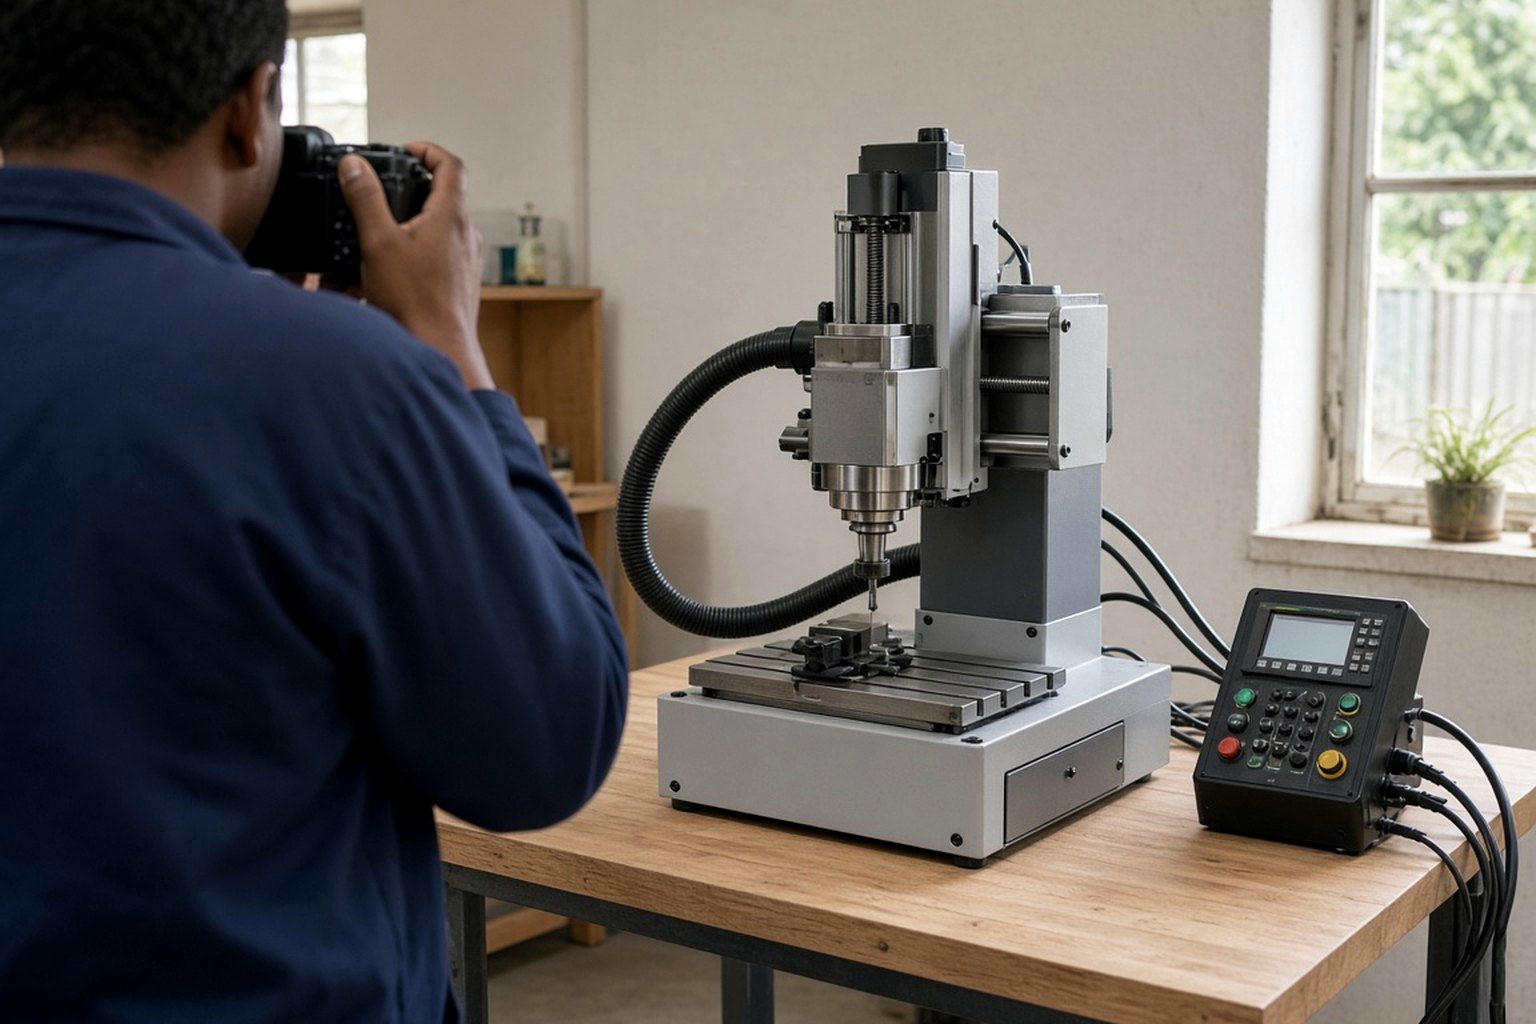
Send a first bench photo that shows the full machine, controller, and the space around it.
The first photo of a setup can save a lot of guessing later. First Photo covers the bench shots worth taking before the spindle starts, especially on one-off jobs and repeat work.
First Photo is about one useful image taken before any cut starts. A wide bench shot lets us see the full machine, the controller, trailing cables, dust collection, and what is sitting close enough to interfere with travel.
Bench details visible in frame
- Whole machine visible corner to corner
- Controller shown beside the machine, powered if possible
- Material, cutter, and zero position noted clearly
The first image often answers questions before anyone touches feeds or speeds. The machine pages cover hardware, while First Photo deals with placement, access, and what the bench environment can reveal in one frame.
Opening shot before spindle start
First Photo should show the full machine, the controller, and the space around the bench. A clear opening photo helps us spot layout issues, cable routing problems, and anything that could get in the way of safe cutting.
Begin with the stock, cutter diameter, and what the part must do when it comes off the machine. MDF dust, aluminium swarf, acrylic chips, power cuts, and courier cut-offs all change what a useful bench photo needs to show. We frame First Photo for makers in Johannesburg, Durban, Cape Town, and smaller towns where one desktop CNC may handle prototypes in the morning and repeat parts later the same day.
A first bench image matters on one-off jobs and repeat work for different reasons. On a once-off cut, it records how the setup began; on repeat parts, it helps compare clamp positions, cable routing, and where the operator actually stood when loading sheets or blanks.
What a useful first image captures
The best photo is not a close-up of the spindle alone. Show the machine in relation to the bench, the controller, the wall plugs, and any extraction or coolant arrangement so setup issues can be spotted from one view.
Use this note before changing the setup or moving the machine to another table. Check the crate contents, accessories, and labels while the area is still clear, then keep that wide bench photo with the job record.
- Bench layout visible before cutting starts
- Controller position recorded in the opening shot
- Related reading: Systems, Labs, and Insights
- Space around the bench shown clearly
Conditions that change the photo
Light matters more than people think. A dim garage in winter, harsh side light from a roller door, or reflective aluminium on the bed can hide rails, cable loops, and clamp shadows that are obvious in person, so step back and shoot from chest height where the full setup reads clearly.
Local conditions affect what should be visible. Coastal shops may need the photo to show where machines are stored away from salty air, while inland workshops often reveal fine dust build-up around the controller shelf, plug tops, and extraction points after only a short run.
Operated by Astros Marketing (Pty) Ltd from 2 Makro Place, Sunnyrock 1401.
What to note with the image
Send a first bench photo that shows the full machine, controller, and the space around it.
Add the machine name, job name, and whether the bench arrangement is temporary or the normal working position. If the image is filed with the job record on the same day, it becomes a reliable reference when someone later asks how the controller, stock, and surrounding space were set up.